 Wireless Warehouse Moving Bin Locations With Handhelds
| Document Version | v.2 |
|---|---|
| Document Last Updated | 5/7/2024 |
| Software Version Documented | v.9.10.22 |
Overview
The Moving feature allows you to move items from one location to another fairly easily. You can do single items or move multiple items. This process document will cover how to move items within different warehouse locations.
Assumptions
To begin this process, it is assumed that your warehouse has been configured for wireless connectivity, and you have the application installed on our recommended devices. In addition, you have your warehouse locations built, and labeled.
Within the Handheld App -
Will need to change the default display size from default to small to ensure the menus and details properly fit within the screen.
Moving Single Items
-
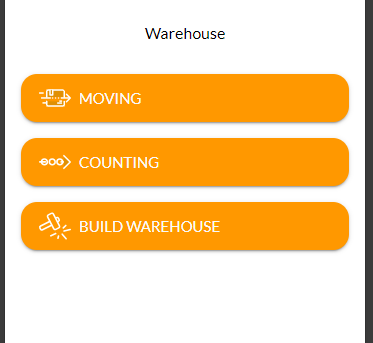
From the main screen of the application on the hand-held select > Warehouse > Moving
-
On the next screen select ‘Single Item’

-
Scan or enter the item you are moving and select ‘GO’

-
If the item is already in a location, that location will be displayed along with the quantity you have on hand. If the item isn’t assigned to a location, No Location will be displayed as that is the default system location.
-
Now you can either select or scan the source location in which you want to move the items from, and select ‘Next’

-
In addition to moving the items you can also print a new label with this updated information, by selecting ‘Print Label’.

-
After you select ‘Next’, the part number’s information will display.

-
Enter the quantity you want to move and select ‘Next’.
-
Then enter or scan the new location in which you want to move the items to. Alternatively, you can also select ‘List’ which will display all locations in which this item has been assigned to.


-
After selecting ‘Go’ you will need to review and confirm your changes.


Moving Multiple Items
-
From the main screen of the application on the hand-held select > Warehouse > Moving
-
On the next screen select ‘Multiple Items

-
On the next screen you have two steps, Choose Items then Put in New Location.

Choose Items
When you select Choose items, this will allow you to scan or enter all the items you wish to move.
-
First, however you need to scan or enter a Moving/Holding Bin. This step will remove items from their current locations and place them into a bin so they can be moved to the “New location.”

-
Next, you will begin scanning or entering all the items you wish to move.
-
As you go through and add each item you will be presented with the same options as you were moving a single item.

-
However, instead of moving from one location to another, you will be building up a moving bin full of items you are moving to the new location.

-
Confirm and repeat this process until all the items you want to move to their new location have been added.

-
When finished, select ‘Done’
Put In New Location
-
After you have chosen the items you are moving you will then select ‘Put In New Location’

-
Either Scan or Choose the holding/Moving bin that you just filled and select, ‘Next’. Note: Only holding bins that contain items to move are displayed.

-
Then from the bin, select or scan the items you are moving.

-
While selecting these items you will scan or enter the new location they are being moved to. Additionally, as you do this you can print new labels reflecting your changes.

-
Verify and confirm the quantity from the bin to the new location, and select ‘Confirm’

-
Repeat this process until all items have been moved to their new location and select ‘Done’.